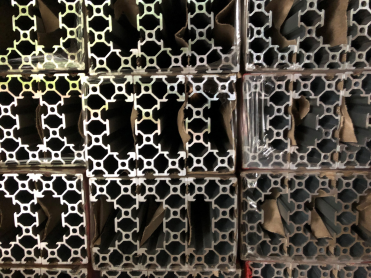
Second batch of extrusion stock has arrived
Wednesday, 26 May 2021

More updates on my crazy 3D printer / CNC fusion project
Sunday, 27 December 2020
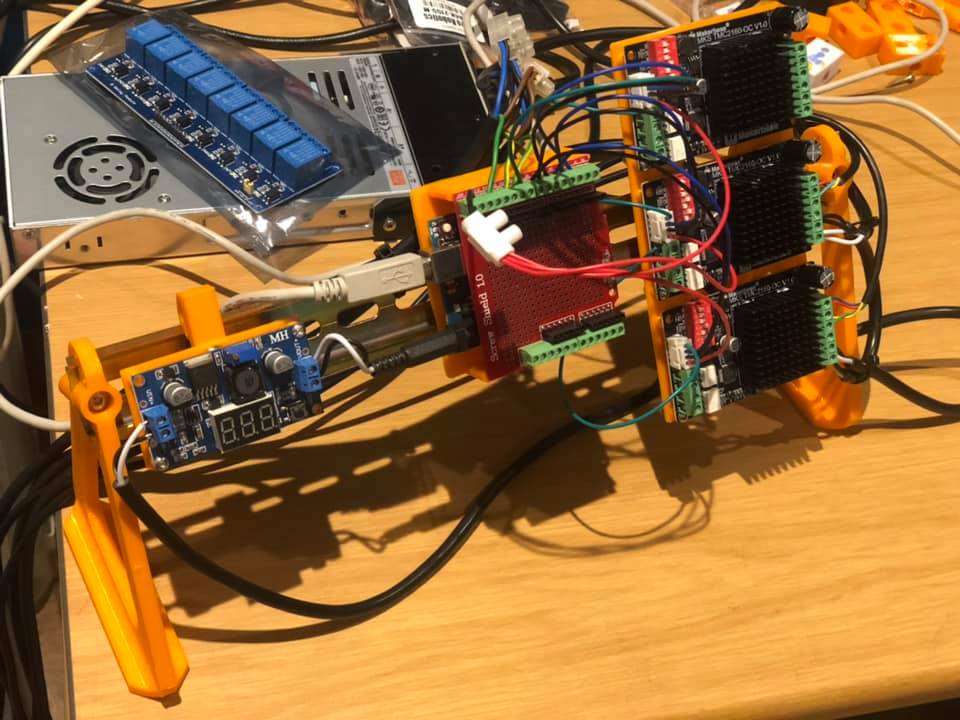
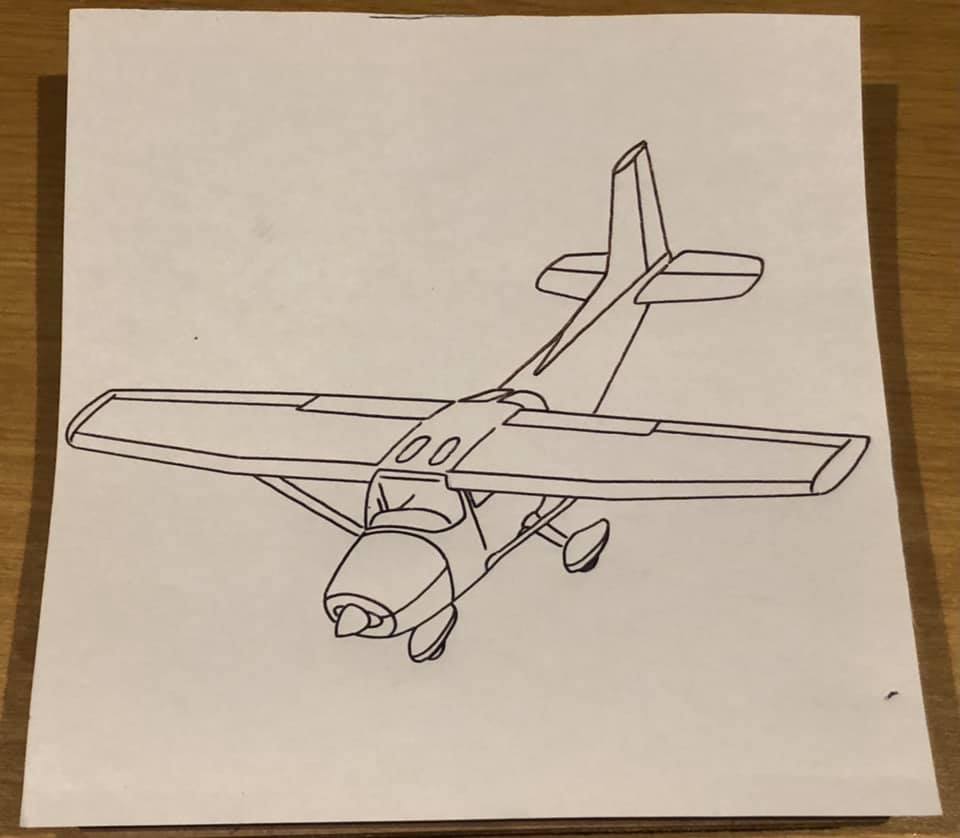
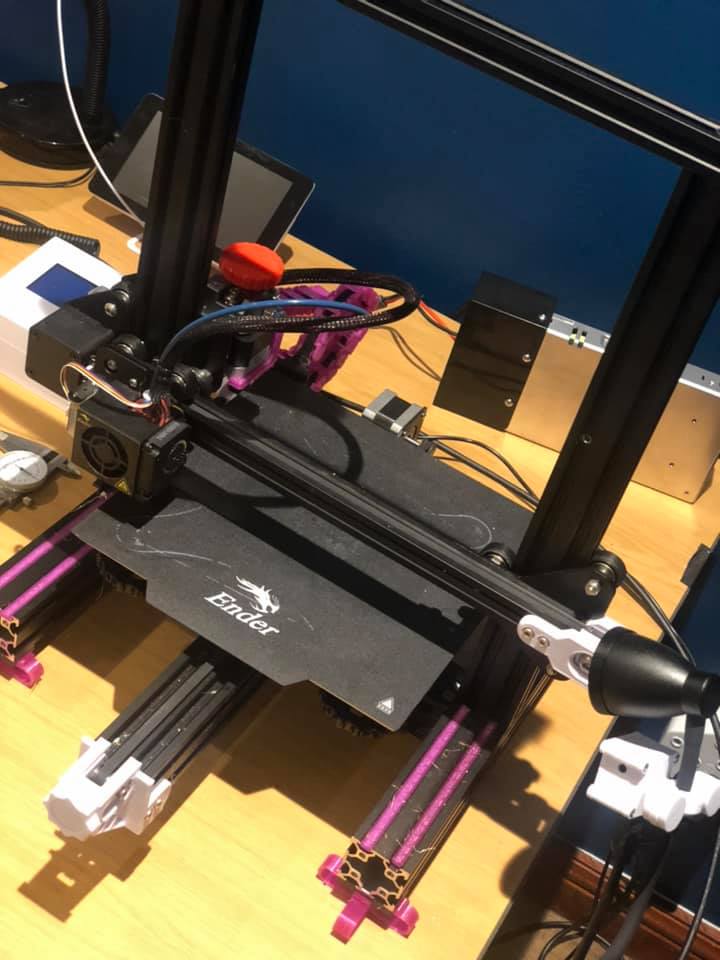
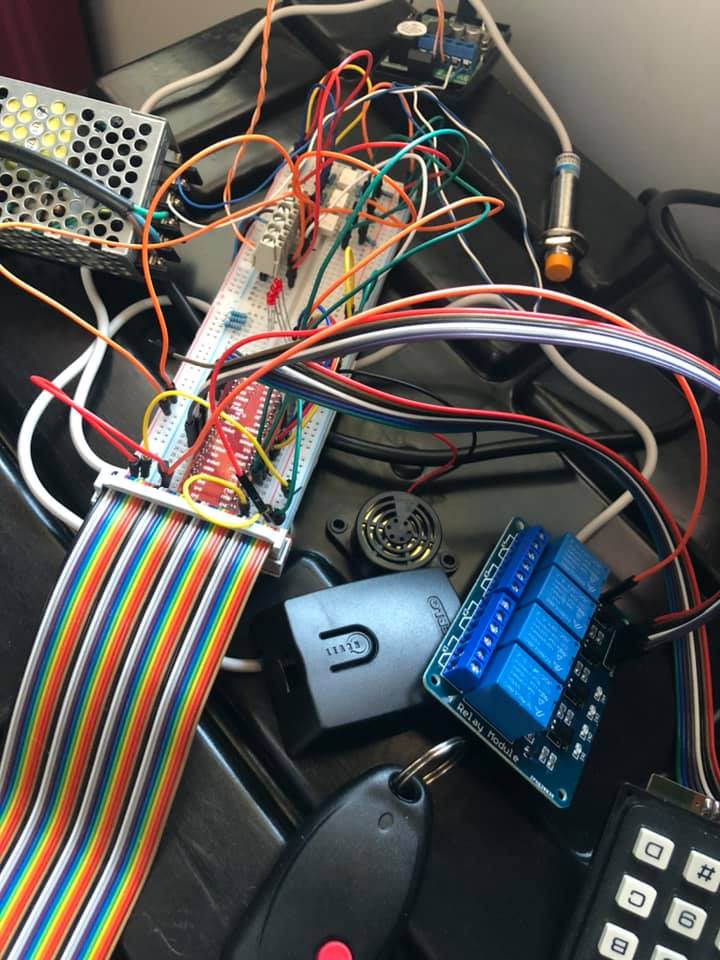
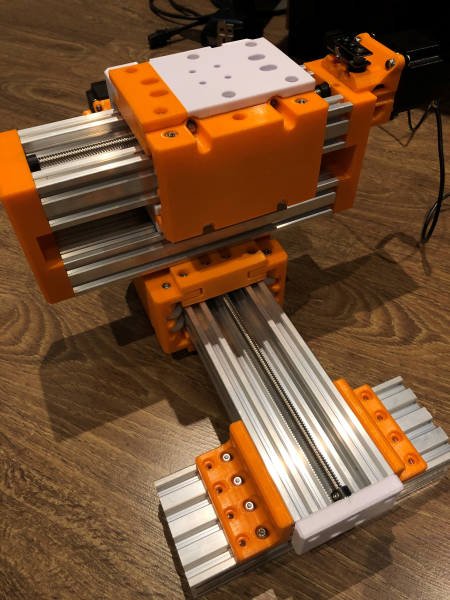
Mechanical done. Electrics done. I have done some plotter tests, shows good repeatability. Waiting for a Makita router to arrive. Will then do testing with milling, initially with MDF then Aluminum. The goal is to understand what parts work as 3D printed parts and which ones don’t. For any that don’t, I want to use this machine to make aluminum parts to improve it and then make parts for a large scale CNC router. The only mechanical parts I’ve had to buy/import are lead screws, collets, motor couplers, bearings. Have had the Delrin wheels made locally as well. The test bed is using OpenBuilds CBeam aluminum profiles I am having made in South Africa. I am also selling them. I’ve set up a Facebook page called UferiaStore. Next year will be making 20x40, 20x20 and a heavy duty version of the CBeam to be used in larger machines. I have had some customers use the CBeam in their machines with great success.
While waiting for the router I have been distracted with building a gate alarm / guard.
Prototype is done, software mostly done, pcb design almost done.
Eventually plan on manufacturing a CNC stepper motor driver pcb.
I want to make the mechanical designs open source once I’m happy with their capabilities.
I want anybody to be able to make their own large scale cnc router with minimal tools and a 3D printer using the plans.
The pics show the completed test bed, the electrics, a sample of the plotter tests, run multiple times on the same sheet of paper and my Ender Pro “Frankenstein like” 3D printer.
Also a pick of the gate guard prototype.

Extrusion stock has arrived
Thursday, 12 November 2020
I received the first shipment of extrusion. I have already used some of the un-anodized samples building a test rig.It works great.Check out the pics below.The design is my own based on OpenBuilds standards.
Order Placed
Monday, 26 October 2020
Samples have been made, corrections done, and the first batch has been ordered!

Printing with PETG on a stock Ender 3
Friday, 04 September 2020
I got my Ender 3, 6 weeks ago and, initially, has a painless experience printing with PLA.Print quality was good and the machine was problem free.
I then decided to switch to PETG and tried my first print. Print quality was poor. After spending countless hours tuning the slicer settings and clearing multiple blockages I came up with an approach that has been producing quality prints.
Before trying any of these setting ensure:
- Most importantly ensure your nozzle is not clogged, there is no filament stuck in the heat-break of your extruder and that the Bowden tube is not clogged up.
- Ensure your filament extrusion tension is not to high as this can flatten the filament making is much harder to push it through the Bowden tube.
- Your machine is mechanically sound, check that the x-axis is not drooping on one side and that all v-slot wheels are making contact with the v - slots.
- Ensure the belts of your x - Axis and y-Axis are correctly tensioned.
- Print feet for your machine, this will dampen any vibrations. https://www.thingiverse.com/thing:3316671
- Ensure your Ender doesn’t have the z - axis leadscrew misalignment and is not binding up. https://www.thingiverse.com/thing:2925230
- Your bed is level.If doing it manually enable the level bed corners menu option in Marlin, this makes levelling the corners much easier.
- Your PETG filaments temperature range falls within the profiles shared here.
- The flow rate should be set based on a flow calibration print.I use a 0.8mm walled hollow cube for this.See https://www.thingiverse.com/thing:2490893
- You should set the K factor(Linear advance factor) based on a test print for your machine as the length of the Bowden tube plays a factor in this setting.Use this link to generate the G - code for a test print. < strong >< a href = "https://marlinfw.org/tools/lin_advance/k-factor.html" > https://marlinfw.org/tools/lin_advance/k-factor.html
- These profiles make use of Linear Advance and so this feature must be enabled in your printer’s firmware.
- Set the support option per model you print based on the model’s requirements.
- A brim is necessary to ensure corners don’t curl.The brim distance makes removing the brim a little easier.
- I use a script in Cura to ½ the fan speed at approximately 50 % of the model height, for models taller than approximately 15mm. See image 1.
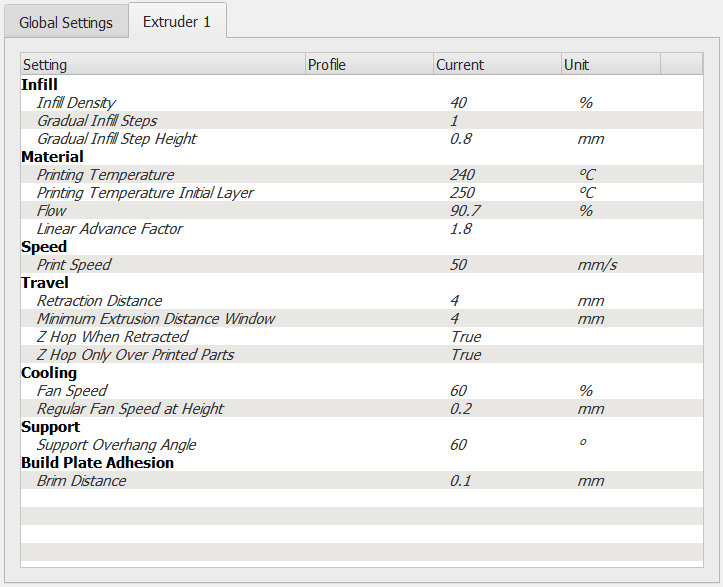
- I lowered the retraction distance from default(6.5mm) because I want to ensure no clogs in the Bowden tube during long, high retraction models. If you can increase this it will ensure cleaner prints requiring less post processing.
- I set the infill density to 20 % however I use the gradual infill steps to ensure the infill directly below a top layer is 40 %, this ensures much smoother top layers.
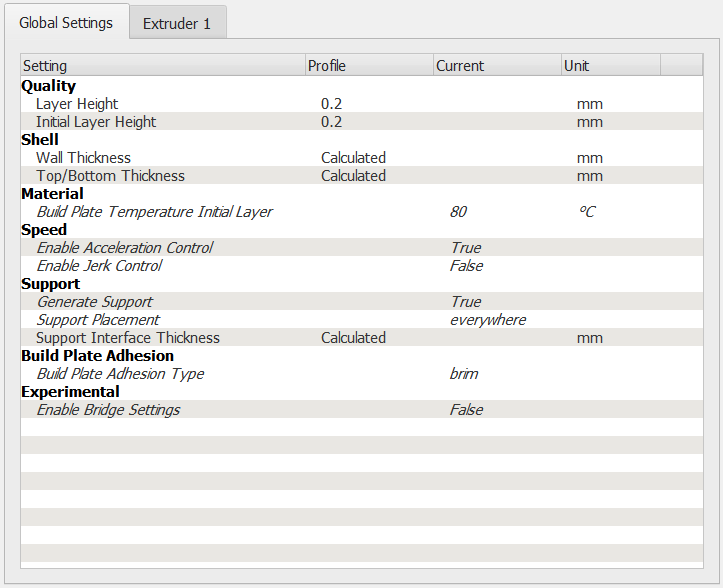
The Cura settings I used can be seen in image 2 and image 3.
